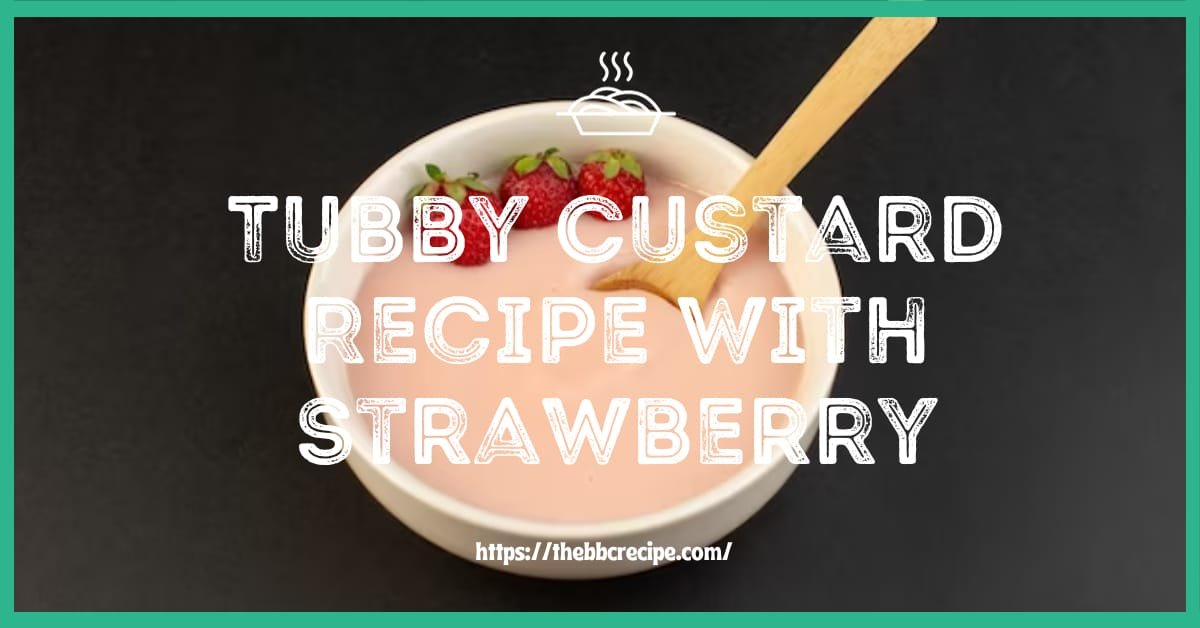
Indulge in a culinary adventure with our delightful creation the Strawberry Tubby Custard Recipe. Tailored to captivate both adult palates and the discerning tastes of children, this recipe is more than a mere culinary offering; it’s a carefully curated ensemble of flavors and textures.
As a parent, I’ve woven in my own valuable tips to ensure not just a delicious treat but a nutritionally sound one. Join me in discovering the perfect blend of sweetness and freshness, a shared joy that transcends the ordinary.
Contents
What Is Tubby Custard Recipe?
Back in 1997, the Tubby Custard Recipe debuted on the well known children’s television program, Teletubbies. The iconic Tubby Custard, often mistaken for mashed potatoes painted with acrylic paint, gained notoriety for its audible, oozy, and pink characteristics. As a parent constantly stressed out by the duties of meal preparation, discovering this family-friendly program became a considerable source of relief.
The Tubby Custard machine, an essential element of the show, quickly gained attention and appeal among young viewers all over the world. Cooking became easier as I found this recipe to be not just a whimsical nod to the television program but an excellent source of wholesome and delectable nutrition for my children. By adhering to a similar principle from scratch, I discovered the joy of preparing Tubby Custard, transforming an entertaining spectacle into a practical and delightful meal.
Essential Ingredients

- Egg Yolks: For a rich and creamy texture, incorporate 2 egg yolks into the Tubby Custard Recipe.
- Domino Granulated Sugar: Add a perfect sweetness to your custard with 50 grams of recommended Domino Granulated Sugar.
- Whole Milk: Ensure a luscious consistency by using 250 ml of whole milk in your Tubby Custard creation.
- Fresh Strawberry: Infuse a burst of freshness with 120 grams of fresh strawberries, elevating the flavor profile.
- Strawberry Paste or Red Food Color: Achieve a vibrant pink hue by adding 2 drops of Strawberry Paste or Red Food Color to your custard.
- Argo Corn Starch: For that velvety texture, incorporate 2 tablespoons of recommended Argo Corn Starch into your recipe.
- Watkin’s Vanilla Extract: Enhance the overall flavor profile with ½ teaspoon of recommended Watkin’s Vanilla Extract.
List of Important Tools and Equipment
- Cutting Board: Prepare fresh strawberries with precision on a reliable cutting board.
- Knife: Ensure accuracy in every cut with a sharp knife for the Tubby Custard Recipe.
- Strainer: Achieve a smooth strawberry puree using a handy strainer.
- Burner: Ensure even heating of your custard mixture with a trusty burner.
- Pan: Combine and cook your Tubby Custard mixture in a versatile pan.
- Bowl: Whisk and blend ingredients seamlessly in a spacious bowl.
- Measuring Cup: Maintain accuracy in quantities with a precise measuring cup.
- Measuring Spoon: Perfect the balance of ingredients using dedicated measuring spoons.
- Whisk: Achieve a velvety consistency in your custard with a reliable whisk.
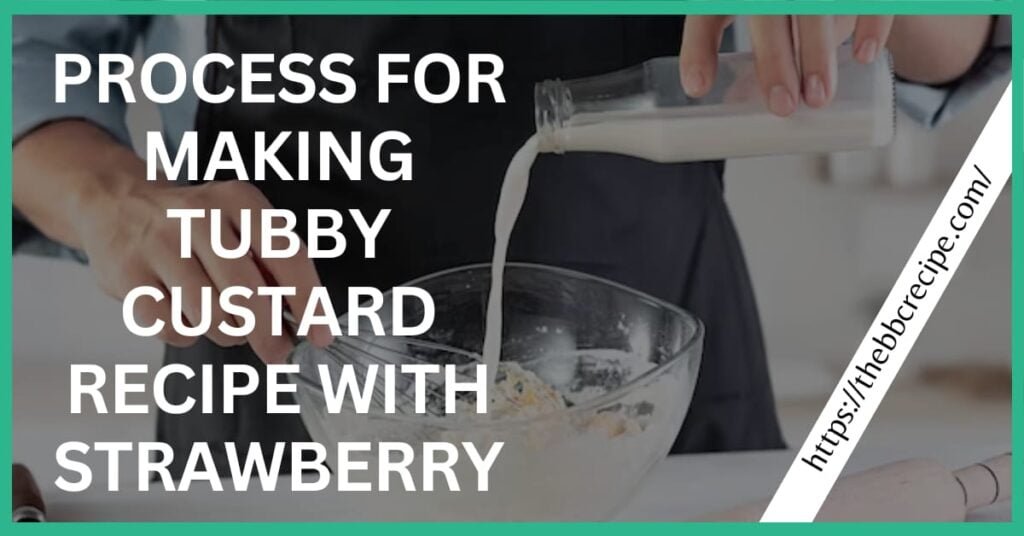
Step by Step Process for Making Tubby Custard Recipe With Strawberry
- Wash and Cut Fresh Strawberries: Begin by thoroughly washing the strawberries and cutting them in half.
- Blend Fresh Strawberries: Use a blender to effortlessly blend the fresh strawberries until you achieve a smooth consistency.
- Strain Strawberry Puree: Separate the strawberry puree using a strainer and set it aside in a separate bowl.
- Prepare Egg Yolk Mixture: In a mixing bowl, add the egg yolks and recommended granulated sugar, then whisk until well combined.
- Introduce Corn Starch: Add the Argo corn starch to the egg yolk and sugar mixture.
- Heat Whole Milk: In a big saucepan, gently heat the whole milk and let it simmer.
- Combine Milk and Egg Yolk Mixture: Turn off the heat and slowly pour the simmered milk into the egg yolk mixture, continuously whisking to avoid clumps.
- Whisk Mixture Until Thickened: Return the mixture to the pan and whisk continuously until it thickens.
- Add Vanilla Extract and Strawberry Puree: Add the vanilla extract and the previously set aside strawberry puree to the thickened mixture.
- Incorporate Strawberry Paste or Red Food Color: For a vibrant hue, add strawberry paste or red food color to the custard mixture.
- Achieve Creamy Consistency: Whisk continuously as you achieve a creamy and delightful Tubby Custard mixture.
- Cool and Refrigerate: Turn off the heat, pour the custard into a bowl, let it cool, wrap it with plastic wrap, and keep it in the refrigerator.
- Serve Warm or Cold: Enjoy the essence of freshly made Strawberry Tubby Custard served either warm or cold.
What Foods Pair best With Tubby Custard?

- Fruit Strudel and Fruit Crumble: Explore the perfect harmony of textures by pairing Tubby Custard with fruit strudel or fruit crumble, creating a delightful combination of velvety custard and fruity goodness.
- Baked Apples and Sliced Bananas: For a warm and comforting treat, place baked apples or sliced bananas in a bowl and pour the Tubby Custard over them, enhancing the flavor with a cozy and satisfying touch.
- Coco-Banana Custard with Desiccated Coconut: Elevate your custard experience with an excellent coco-banana custard. Pour the warm custard over a mix of fresh or canned fruit, and top it with desiccated coconut for a tropical twist that adds both flavor and texture.
Is It Possible to Store Tubby Custard Outside of the Fridge?
For a quick, easy answer to whether Tubby Custard can be stored outside of the fridge the response is categorically unsafe. Unlike some prepared foods, Tubby Custard falls under the category that should not linger at room temperature for more than 4 hours. It’s advised to follow this safety guideline to ensure the custard remains within the safe period for consumption.
Factors such as the inclusion of eggs make Tubby Custard more susceptible to bacterial growth compared to other items. So, as much as you might want to savor every spoonful, it’s crucial to prioritize food safety and refrigerate the custard promptly, keeping it fresh for enjoyment. In my culinary journey, I’ve found that being diligent about storing eggs, dairy, and anything else within the safe temperature range significantly contributes to a safer and more enjoyable dining experience.
Read Also: Spice Up Your Dish: [Homemade] Slim Chickens Cayenne Ranch [Magic]!
Do You Want Your Tubby Custard Cool or Hot?
The temperature at which Tubby Custard is served can significantly complement its rich and velvety texture. While it’s commonly associated with being chilled, consider the versatility of this custard that can be served hot to complement a variety of delicacies, including pies, crumbles, tarts, and pastries. A major component in classics like trifle, the chilled Tubby Custard is often spread over a layer of sponge cake, adorned with fruit, and covered in whipped cream for a refreshing dessert.
The best method for storing custard, whether it’s prepared hot or baked, is refrigeration. After baking, letting it cool for 8 to 10 minutes at room temperature before covering it with plastic wrap ensures the custard is perfectly cooled and ready to be enjoyed. In my experience, exploring the dual nature of Tubby Custard hot or cool adds a delightful dimension to its already charming appeal.
Final Thoughts
In wrapping up this must try recipe for Tubby Custard with Strawberry, the joy lies not only in its rich flavors but also in its quick, simple preparation just 30 minutes of prep time to create a dessert that captures the show’s magic. As a parent, the satisfaction comes from using simple ingredients to dash a bit of the show’s whimsy into a treat that encourages even the pickiest eaters to enjoy.
Having witnessed the delight of children, avid fans of the Teletubbies, devouring the custard right away, it’s clear that Tubby’s quick recipe transcends the screen, bringing the show’s favorite characters to life. If you haven’t tried the Strawberry Tubby Custard Recipe yet, I encourage you to do so and appreciate the feedback and comments that follow after all, it’s not just a recipe; it’s a taste of childhood joy.